Anyone who's ever used grow bags knows that watering is a pain: unless you're really careful and pour verrrrrry slowly, the water spills over the edge and is wasted.
I have simple solutions.
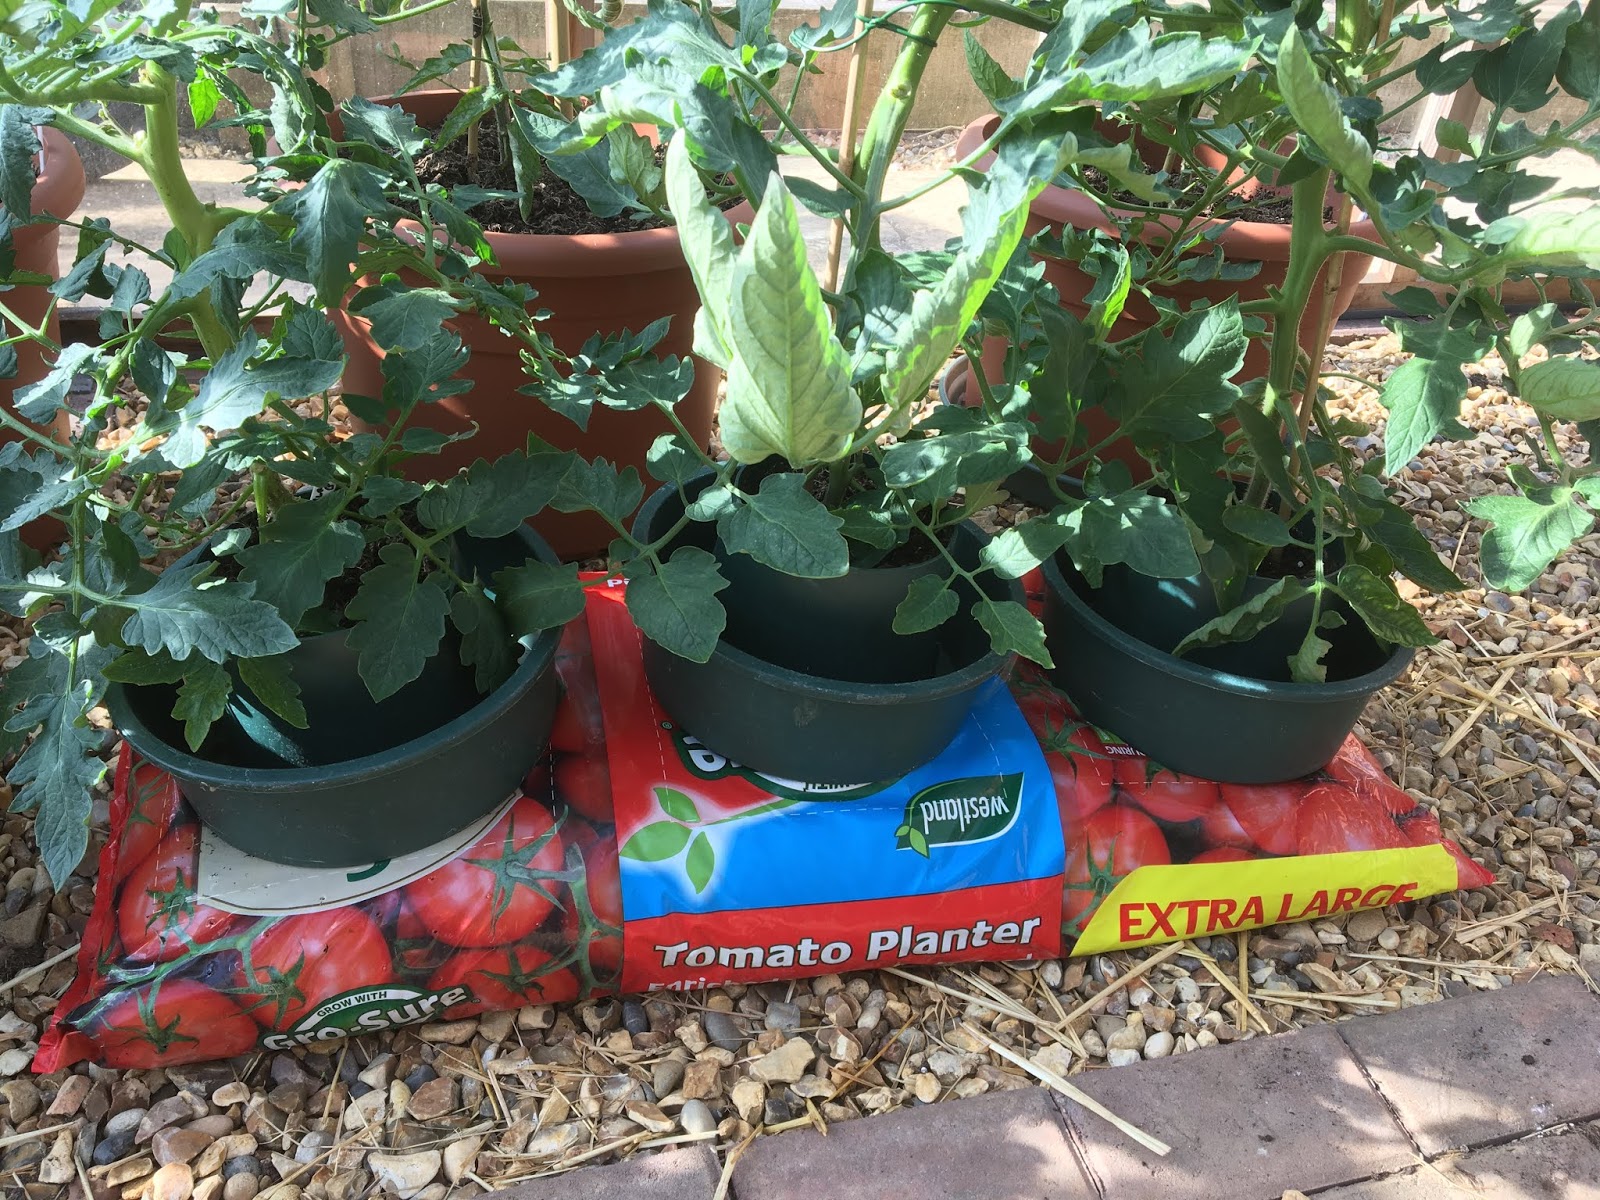
I don't know what these are called (below) but I bought them a few years ago. Highly recommended but there's a financial outlay at the start. My tomato plants are so verdant (excuse boasting) that you perhaps can't see exactly what you're looking at but you're looking at robust plastic rings with an inner ring and, between the two, a reservoir with holes. The plant goes in the inner ring, allowing the roots to go deeper than if just using a bag. You pour water in the reservoir but also directly onto the inner ring. Any overflowing water from the inner ring goes into the reservoir. Simple and satisfying.

I know what these are called: plant pots. Simply part-bury and pour the water in.

I also know what these are called. Bottomless flowerpots and half plastic milk bottles with drainage holes. So, this is really two techniques in one: the milk bottles act in the same way as the flowerpots in the previous picture and the big pots without bottoms act both to make watering easier and also to give more soil and space for lovely roots. (In case you're wondering, an aubergine on the left and the other two are watermelon. I have around 20 aubergine plants this year - they were just all too healthy-looking to cull!)

While I'm here, below is a trick your outdoor cucumber plants will like. To make the ground even warmer, I've cut sections of a compost bag and pegged them to the soil around each plant, with black side outwards. Lift and edge to water underneath. Less evaporation, too!

Happy growing and picking!
I have simple solutions.
I don't know what these are called (below) but I bought them a few years ago. Highly recommended but there's a financial outlay at the start. My tomato plants are so verdant (excuse boasting) that you perhaps can't see exactly what you're looking at but you're looking at robust plastic rings with an inner ring and, between the two, a reservoir with holes. The plant goes in the inner ring, allowing the roots to go deeper than if just using a bag. You pour water in the reservoir but also directly onto the inner ring. Any overflowing water from the inner ring goes into the reservoir. Simple and satisfying.
I know what these are called: plant pots. Simply part-bury and pour the water in.

I also know what these are called. Bottomless flowerpots and half plastic milk bottles with drainage holes. So, this is really two techniques in one: the milk bottles act in the same way as the flowerpots in the previous picture and the big pots without bottoms act both to make watering easier and also to give more soil and space for lovely roots. (In case you're wondering, an aubergine on the left and the other two are watermelon. I have around 20 aubergine plants this year - they were just all too healthy-looking to cull!)

While I'm here, below is a trick your outdoor cucumber plants will like. To make the ground even warmer, I've cut sections of a compost bag and pegged them to the soil around each plant, with black side outwards. Lift and edge to water underneath. Less evaporation, too!

Happy growing and picking!
Comments
Post a Comment